How to Create Your Own Mail Server for Free?
In the realm of business communication, there’s been a prevailing assumption that the advent of instant messaging would render email obsolete. Surprisingly, however, email has steadfastly maintained its significance in professional interactions. As a business proprietor, the choice lies with you on how to leverage this pivotal medium. Will you rely on a mainstream email provider or take the route of hosting your own mail server?
Establishing Your Own Personal Email Server
Electing to establish a personal email server comes with a host of benefits, not least of which is the potential for substantial cost savings and enhanced control over your business’s communication infrastructure. A privately hosted mail server offers a slew of advantages, spanning security, customization, and oversight. The security afforded by a self-hosted solution surpasses that of any public mail server, thereby fortifying the safeguarding of sensitive data. Moreover, there are myriad additional perks to be gleaned from opting to set up a cost-free mail server, which we’ll delve into in this blog. If you’re pondering the question of how to embark on this journey of creating your own email server at no cost, then this blog is tailored precisely for you.
Unveiling the Dynamics of Mail Servers: A Closer Look
Ever wondered about the essence of a mail server? Picture it as the digital counterpart of a post office, orchestrating the flow of emails within a network. Its role entails receiving messages from clients, ensuring their seamless delivery to recipients, and guaranteeing each missive lands in the correct inbox. Therefore, a robust mail server system must adeptly handle substantial email traffic. Whether catering to individual needs or facilitating the communications of a corporate giant, a mail server must reliably and securely shuttle messages. For those intrigued by the prospect of configuring their own email servers, the notion of a cost-free mail server might hold particular allure. This avenue empowers users with greater command over their email ecosystem, furnishing a bespoke enclave for business correspondence.
Embarking on self-hosting further affords the opportunity to tailor one’s email infrastructure to precise specifications. Be it fortifying security protocols or sculpting storage solutions, a VPS mail server presents a pliable platform for enterprises keen on fine-tuning their email operations.
Crafting Your Own Mail Server: A Simplified Guide
Venturing into the realm of setting up your own mail server may appear daunting initially, but with a strategic approach, it unfolds as a manageable process offering substantial perks for email server hosting. However, before delving into the setup, it’s essential to grasp the fundamentals of mail protocols. While numerous methods exist for creating your own mail server on a VPS, we’ll focus on the straightforward route using HMmailserver, a renowned, no-cost, open-source option tailored for Windows operating systems.
Step 1: Download and Installation
Commence by downloading the hMailServer installer and initiate the installation process.
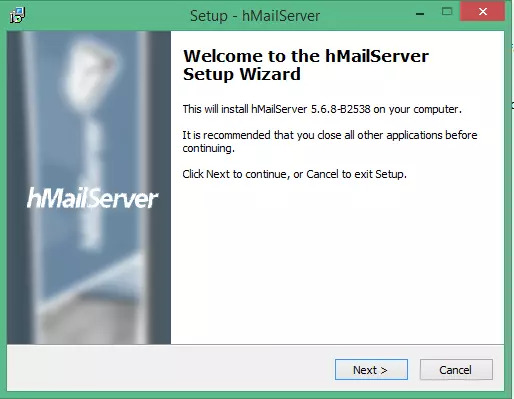
Run the installer and proceed with the setup by clicking “Next.”
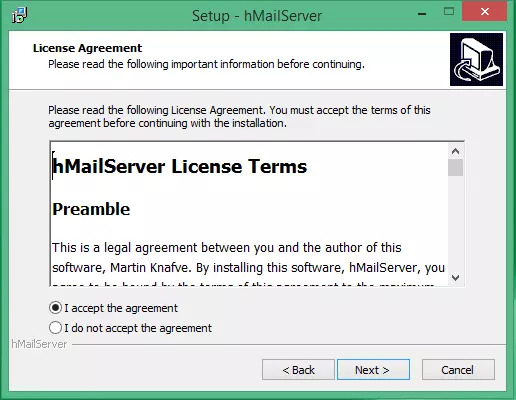
Accept the license agreement by selecting the appropriate option.
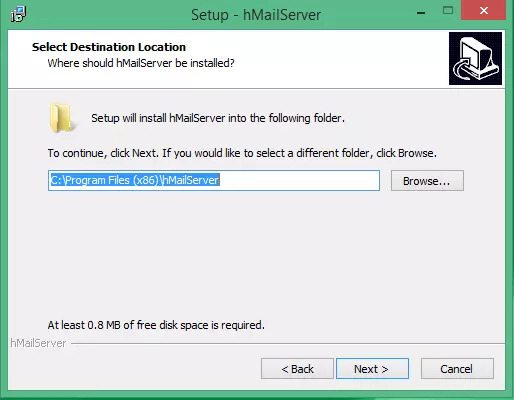
Specify the installation destination for hMailServer.
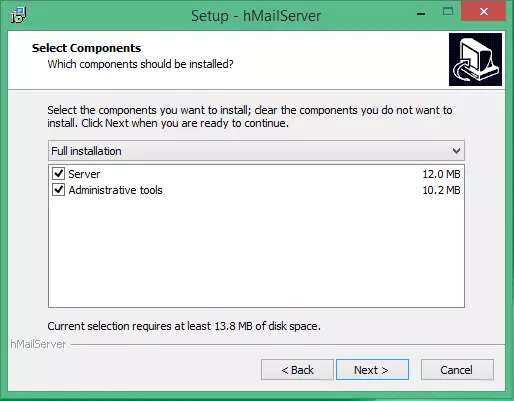
Opt to configure your local computer as the server or choose Administrative tools for remote management.
Proceed by selecting the preferred database type.
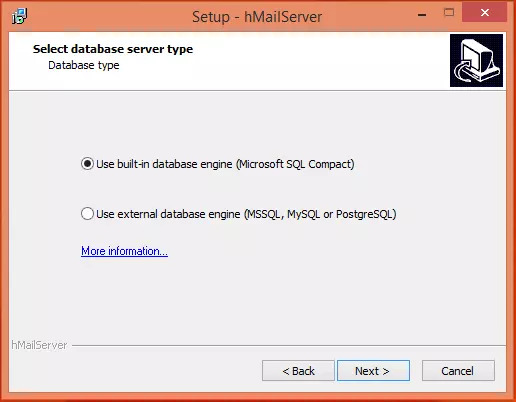
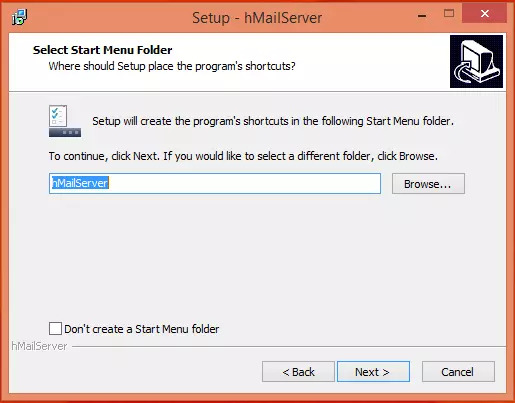
Choose the folder location for program shortcuts and continue.
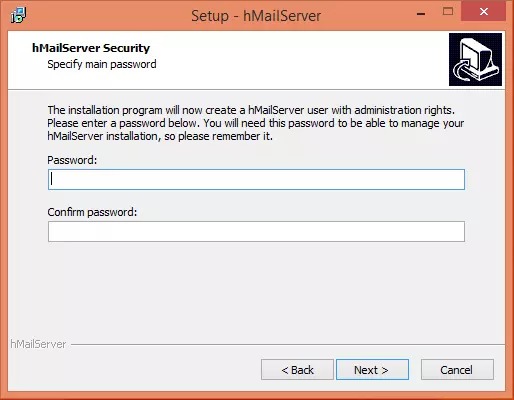
Set a primary password for managing hMailServer configurations, ensuring it’s securely stored for future use.
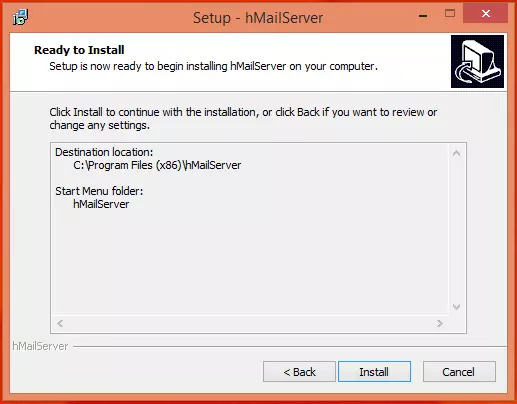
Complete the installation by clicking “Install” to integrate hMailServer into your VPS.
Upon completion, enable the “Run hMailServer Administrator” option and finalize the setup by clicking “Finish.”
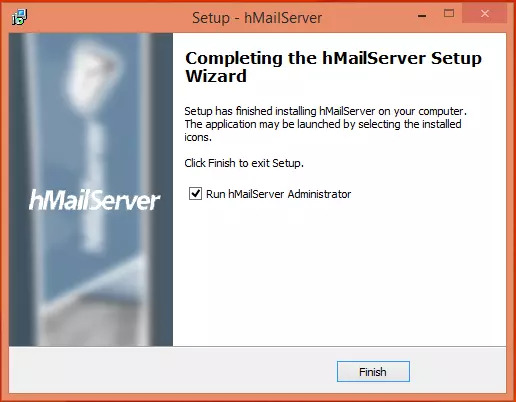
Step 2: Initiate hMailServer and Establish Connection
Upon launching the hMailServer Admin window, proceed to click on “Connect.”
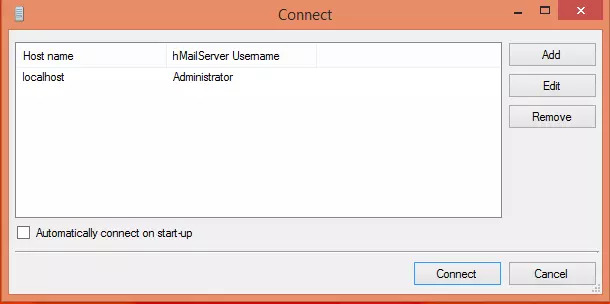
Access the Admin window and click “Connect.”
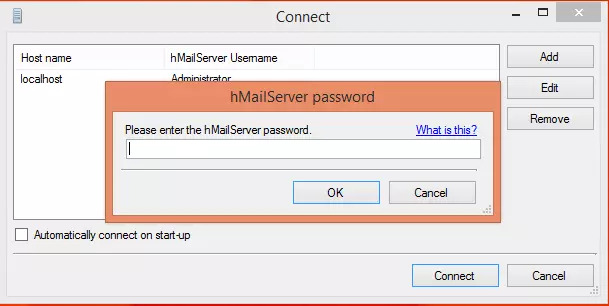
Enter the password chosen during the installation process.
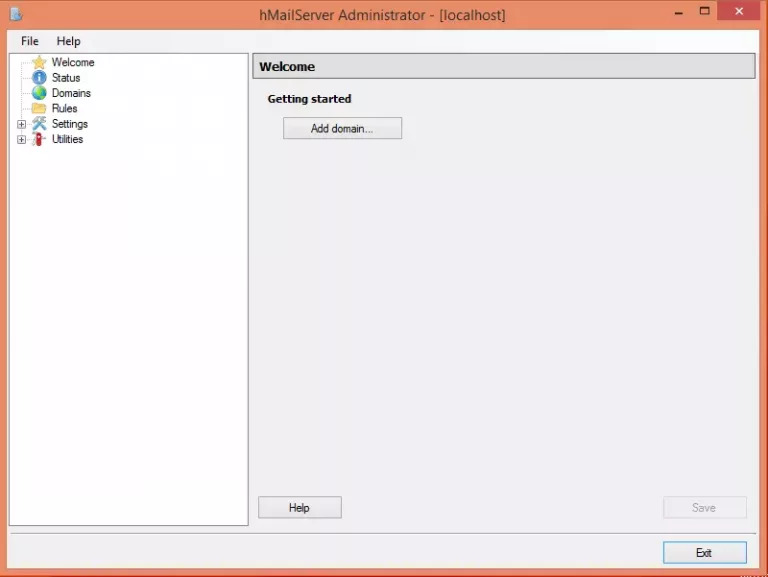
Step 3: Integrate Domain
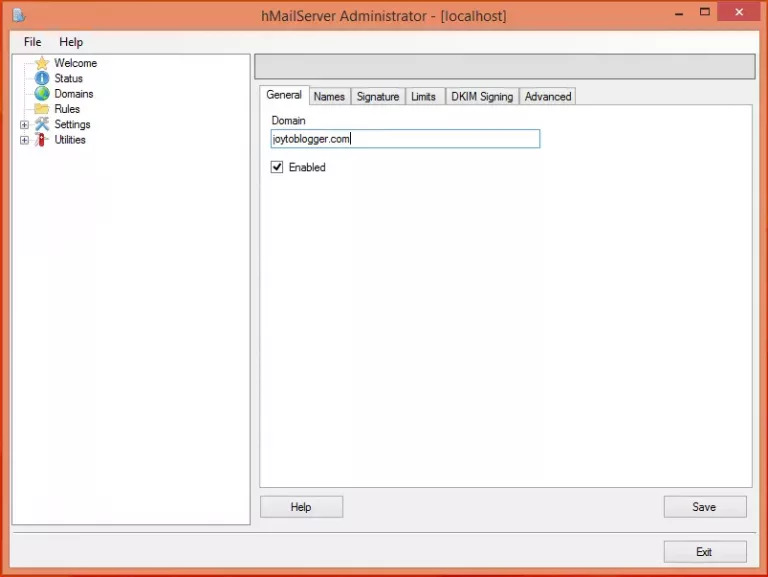
With hMailServer up and running, navigate to “Add domain” to commence configuring your SMTP server.
Under the General tab, input your domain name (DNS) and ensure to save the changes.
Step 4: Create Accounts
Direct your attention to the left panel, select “Domains,” then proceed to “Accounts.”
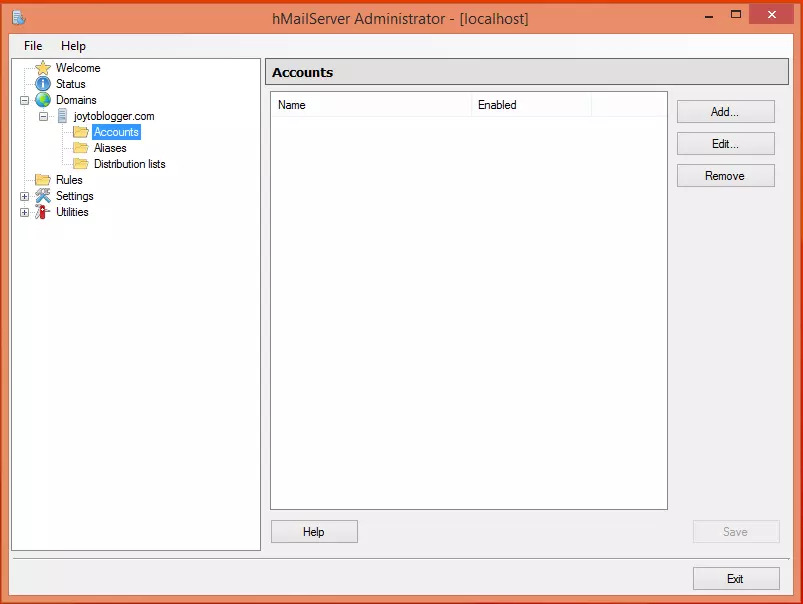
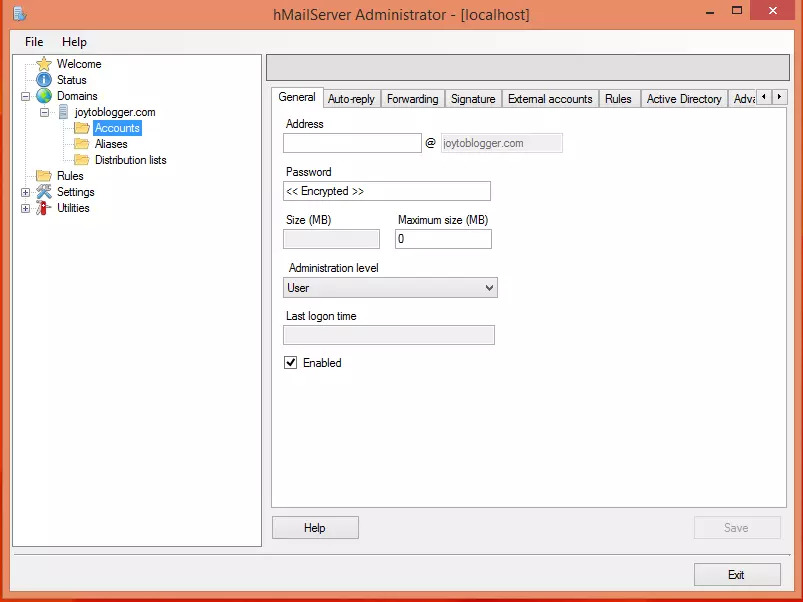
Click on “ADD” to furnish the address field with a name and password, subsequently saving the details.
Step 5: Protocol Configuration
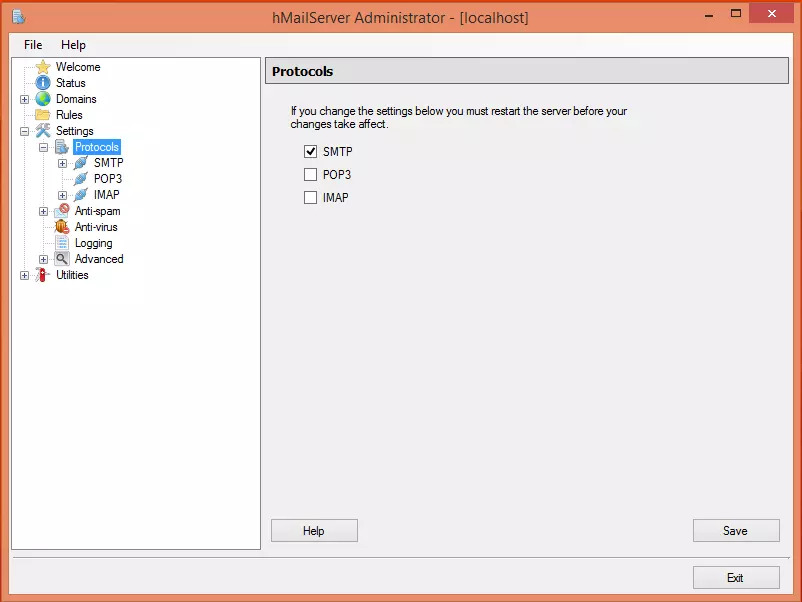
Navigate to the Settings subfolder and access the Protocols section to configure SMTP settings (while ensuring POP3 and IMAP options are unchecked).
Step 6: Establish Default Domain
Access the Advanced settings and input “localhost” into the Default domain field before saving the changes.
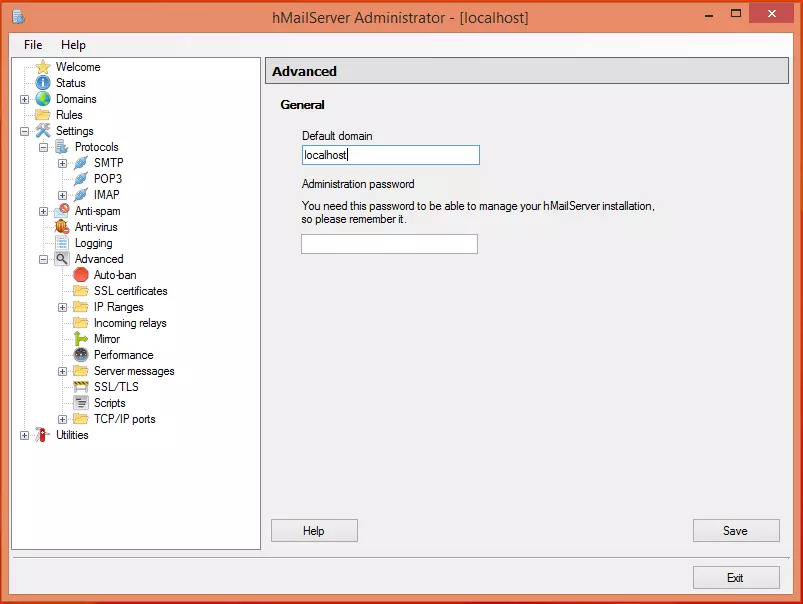
Step 7: Automated Ban Setup
Expand the Advanced options and proceed to the Auto-ban feature, designed to block IP addresses following repeated login failures.
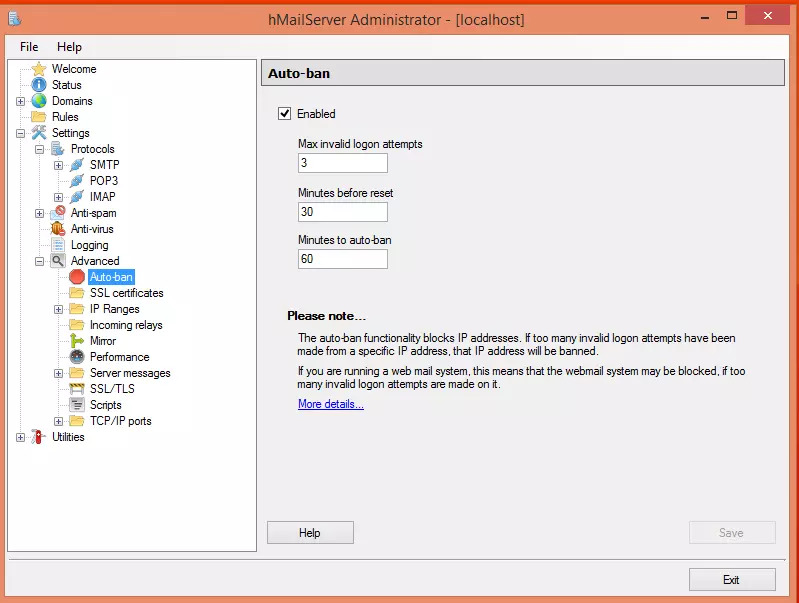
Step 8: IP Range Configuration
Extend to the IP ranges section and configure TCP/IP ports dedicated to SMTP587, IMAP 25, POP3 110, and IMAP 143, ensuring seamless email transmission.
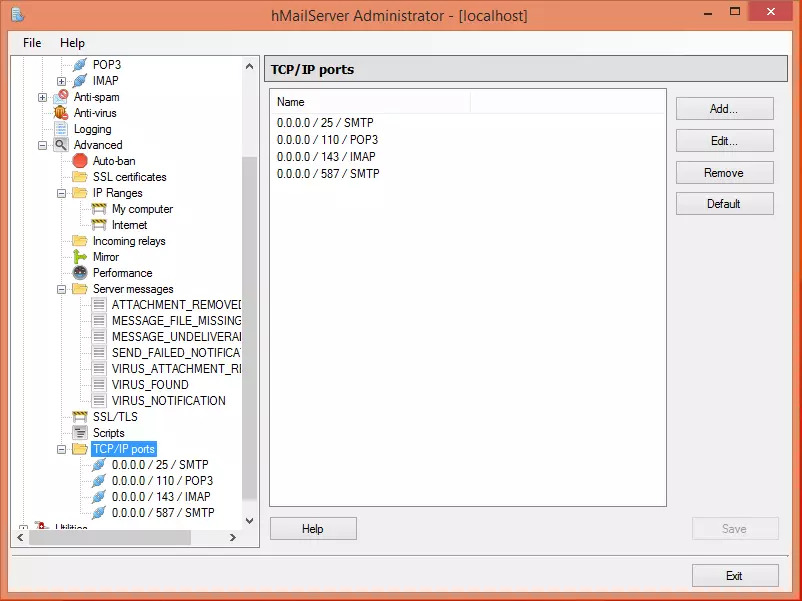
Note: Activate various functionalities such as forwarding, auto-reply, and DNS blocklists within hMailServer settings.
Step 9: Diagnostic Check
Conduct a diagnostic check by navigating to Utilities and selecting Diagnostics, where you’ll initiate tests for the configured domain.

Your hMailServer is now primed for use with essential settings and features in place.
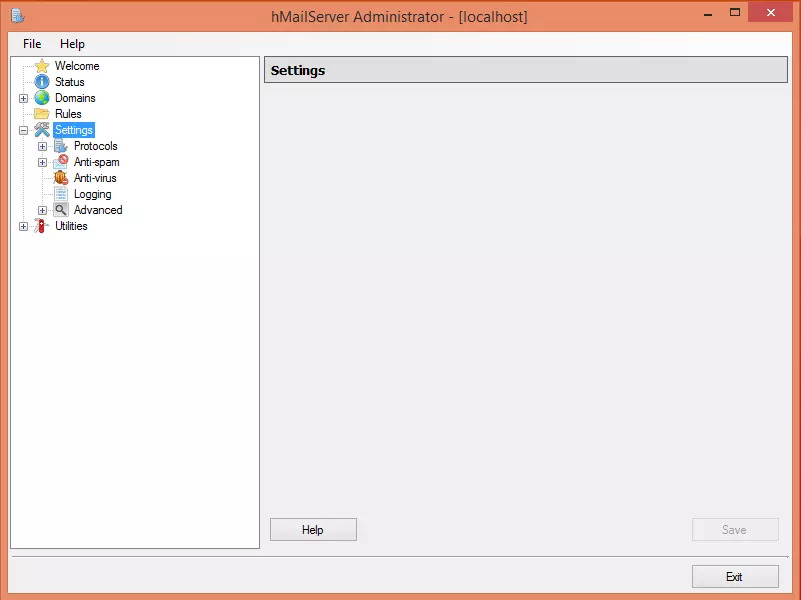
Note: Delve into Collect server details to review hMailServer version and database specifications. Should you encounter errors during outbound port testing, it signifies potential issues with SMTP server communication, necessitating troubleshooting measures.
Conclusion
In summary, venturing into the realm of crafting your own mail server furnishes unparalleled control and security over your email correspondence. While the journey of setting up a cost-free email server presents its share of hurdles, the dividends in terms of privacy, customization, and operational efficiency are undeniable.


